
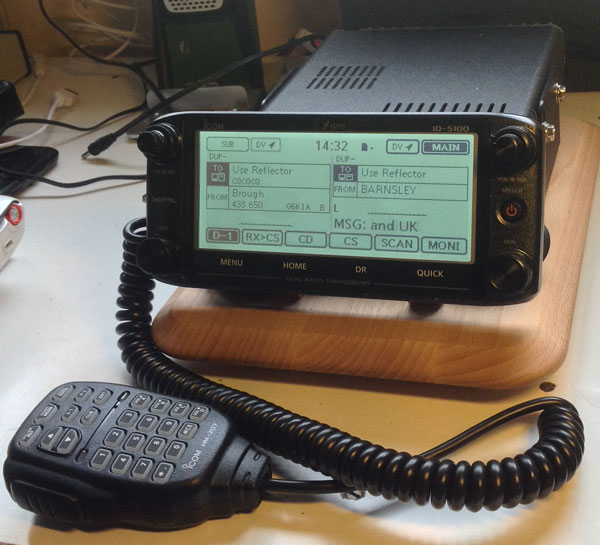
How to make a base station stand for less than £6
for the ICOM ID-5100.
Having
recently bought an ID-5100 for use as a base station radio in my home
shack. I was rather disappointed to find that mounting for the head unit
wasn't included I was even more disappointed to find that the cost of the official mount with the suction cup was over £65.
Being a Yorkshireman I had no intention of paying £65 for a rather tacky inferior solution.
I spent the next few days looking for a solution. Then on Wednesday as I was walking around the kitchen department of a local shop the following solution jumped out at me. There on the shelf were several bread boards of different sizes. That's when it came to me! We used to call experimenting with electronics bread boarding. We used to mount components on breadboard so why not a modern transceiver.
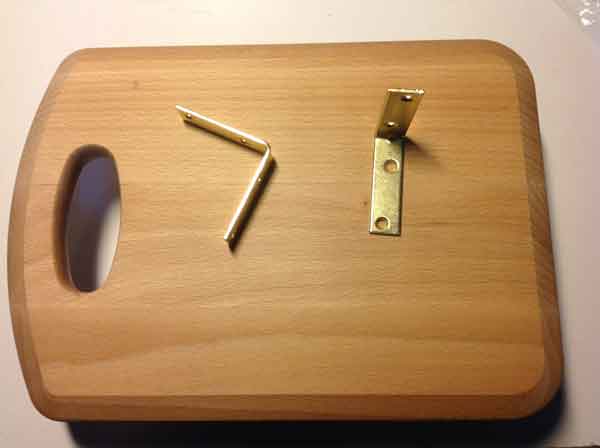
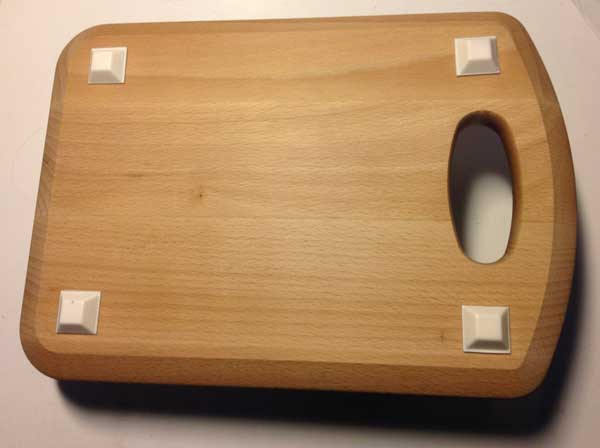
So I bought the small chopping board shown below.
Being a Yorkshireman I had no intention of paying £65 for a rather tacky inferior solution.
I spent the next few days looking for a solution. Then on Wednesday as I was walking around the kitchen department of a local shop the following solution jumped out at me. There on the shelf were several bread boards of different sizes. That's when it came to me! We used to call experimenting with electronics bread boarding. We used to mount components on breadboard so why not a modern transceiver.
So I bought the small chopping board shown below.
From
a local hardware store I bought 2 brass angle brackets and some M2.5
machine screws and washers. The 2.5 mm machine screws fit the back of
the head unit just fine. Do make sure that they're not too long so as to
not damage electronics.
Method.
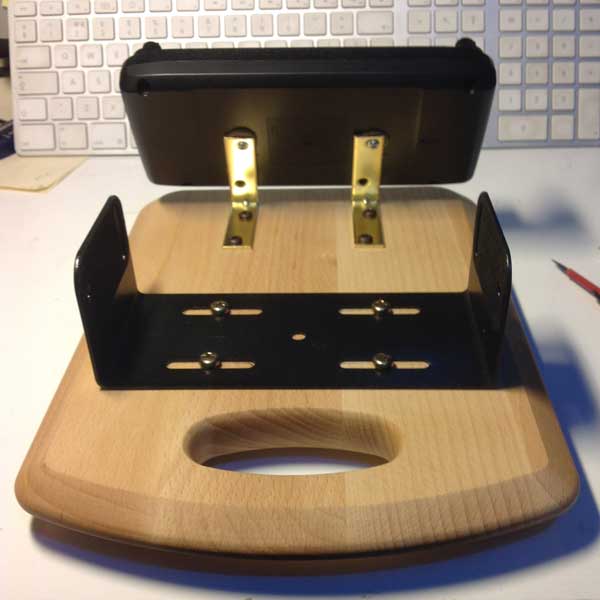
First bend the right angle brackets to about 30° using a small hammer and vice.
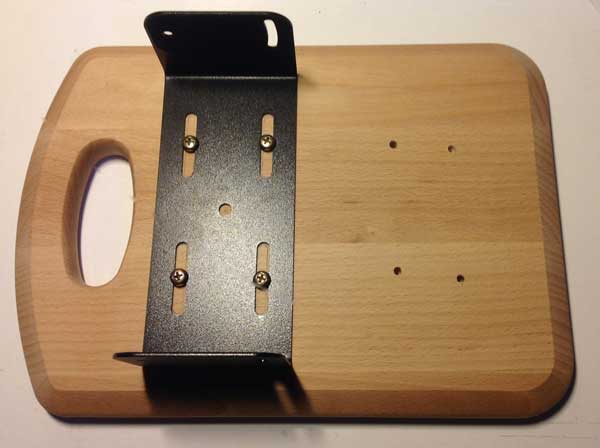
Next
drill small pilot holes into the board and mount the main bracket as
shown. The screws provided with the radio are fine for this.
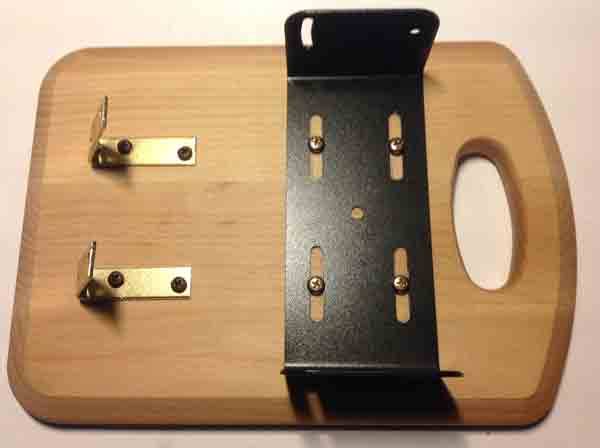
Next attach the modified brackets.
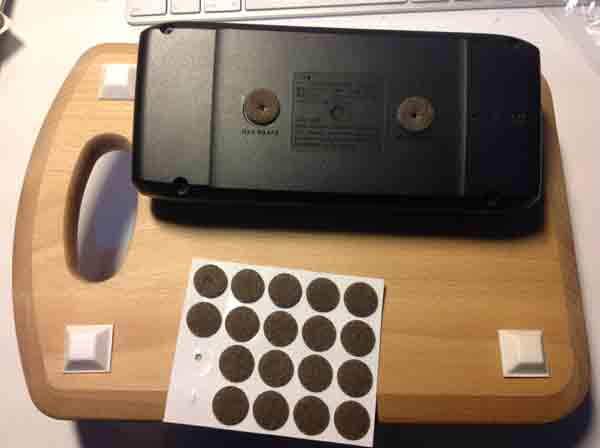
Then attach 4 self-adhesive rubber feet to the bottom side of the board to stop it slipping and scratching the table.
To
protect the control head from scratches punch holes into the centre of
2 small self-adhesive felt pads and attach them over the screw holes.
2 small self-adhesive felt pads and attach them over the screw holes.
Using the 2.5mm Machine screws attach the head to the brackets.
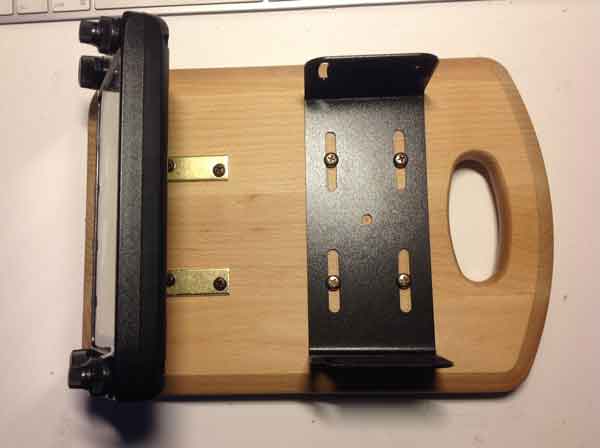

Now mount the main part of the radio into its bracket using the screws provided.
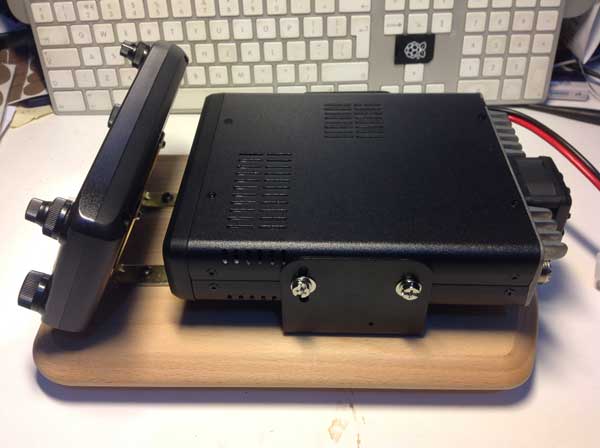
You
may find it easier to connect the microphone and connecting lead before
mounting
the main body of the radio into the bracket.
the main body of the radio into the bracket.